
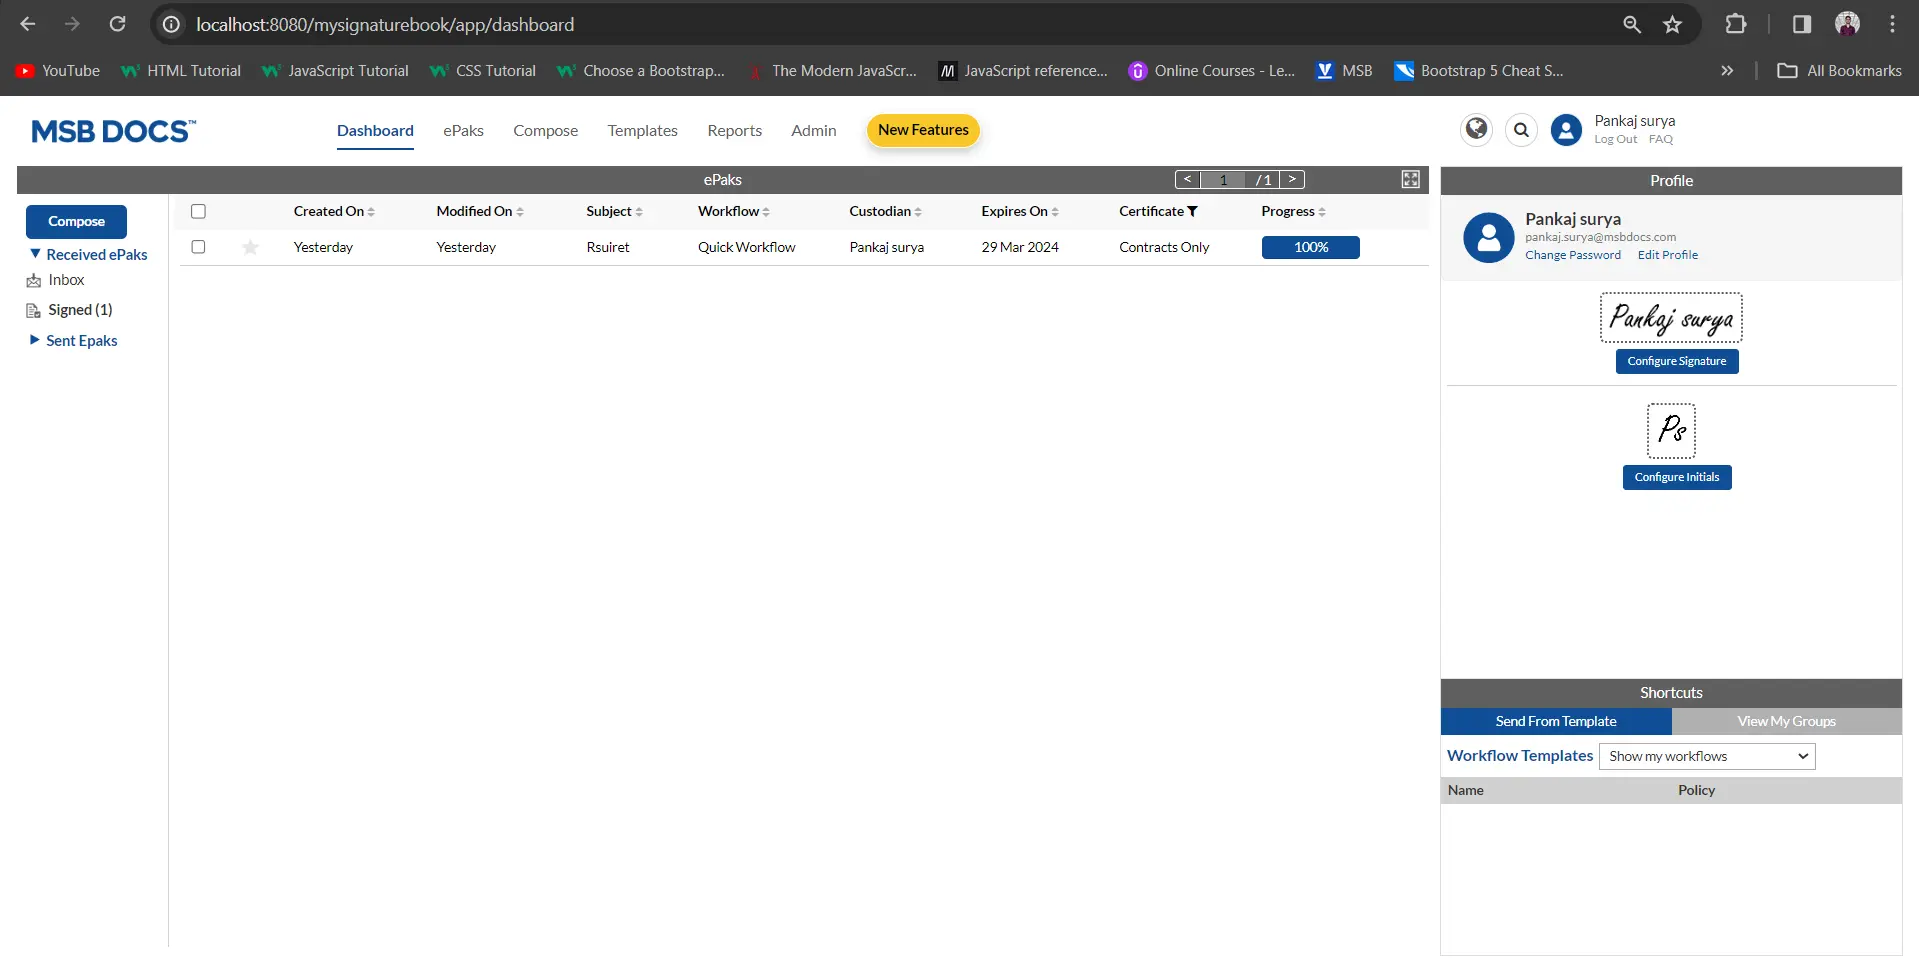
How do I add tags for more than one signer in the workflow?
If your Signature Workflow has more than one signer, the additional signers will appear in one row or different based on the states selected. On the compose screen, the currently selected username/document turns yellow and all the others will show blue.

To configure tags for multiple signers (refer to the image above):
- Select the signer from the available list. The Icon turns yellow only for the selected signer.
- Based on the certificate policy and system configuration, you will see a list of tags available on the top of the document preview panel.
- Select a tag from the list and drag the tag icon to the desired location on the document and a pointer with the signer’s name appears towards left of the document indicating which tag is for which signatory.
- Click the next signer in the list; the selected signer will now turn yellow and the previously selected signer will turn blue and Repeat step 2 for each signer. Please note that you may add a signer to more than one state in a workflow (in separate states). You will need to place a signature tag and/or others for the signer each time they appear in the workflow.
- Any previously dropped signature tag and others on the document will get greyed out.
- Similarly, if you have multiple documents, repeat the same procedure as mentioned above so that there is one signature tag on at least one document per signer.
- Once you have successfully configured all signature tags and/or other tags, click send to create the ePak and request Signatures.
- If you have not configured signature tag for all signers when you click the Send button, it will warn you that you have not completed all signature tags.
How do I add tags for more than one signer in the workflow?
If your Signature Workflow has more than one signer, the additional signers will appear in one row or different based on the states selected. The currently selected username turns blue and all the others are not highlighted in any colour.

To configure tags for multiple signers (refer to the image above):
- Select the signer from the available list. The Icon turns blue only for the selected signer.
- Based on the certificate policy and system configuration, you will see a list of tags available.
- Select a tag from the list and drag the tag to the desired location on the document and the signer’s name appears on the top of the tag indicating which tag is for which signatory.
- Click the next signer in the list; the selected signer will now turn blue. Repeat step 2 for each signer. Please note that you may add a signer to more than one state in a workflow (in separate states). You will need to place a signature tag and/or others for the signer each time they appear in the workflow.
- Any previously dropped signature tag and others on the document will get greyed out.
- Similarly, if you have multiple documents, repeat the same procedure as mentioned above so that there is one signature tag on at least one document per signer.
- Once you have successfully configured all signature tags and/or other tags, click send to create the ePak and request Signatures.
- If you have not configured signature tag for all signers when you click the Send button, it will warn you that you have not completed all signature tags.

