How do I create a new Workflow?

To create a new Workflow, follow the steps below:
- Click the Templates link in the main navigation panel on top of the application.
- Type a name for the new template in the Workflow Name field.
- Choose the accessibility of your Workflow. You can either make it Public, Private or Group.
- Private – only you may use the workflow
- Public – other Custodians may use the workflow however they will not be able to edit the workflow, only you may edit the workflow.
- Group – Workflow will be available to the Custodian members of your groups
- Add workflow states to the Workflow by clicking the state menu in any present state in the workflow, and choose, Insert above/down to insert a new state.
- For each state, choose one of the following: Sign, Review or Email (Please note, the state actions available to you are configurable and will depend on your instances specific configuration).
- Add recipients to each state by typing the username in the field provided. If you have previously sent an ePak to the recipient, they will appear in your Favorite Users list. If the user does not appear, you may click the Search link to search all users.
- If the state is a Sign state, any recipients will be required to sign or reject the ePak.
- If the state is a Review state, any recipient added will have to review and approve or reject the ePak, however their signature will not be required.
- If the state is an Email state, it will email a copy of the ePak document(s) to any recipient added to that state. The document may or may not have all signatures completed, as it will send them out however they are when they reach that state.
- You may also add minimum users to review and sign states, CC, Subject, Special Instructions and Tags to your workflow. These items are optional and not required.
- If configured for your instance, you will be able to choose a different certificate policy for each state in your workflow from the drop-down menu. By default, the ePak level signing policy will be applicable to all workflow states unless selected otherwise.
Note: If both electronic and digital signing policies have been configured for your instance, you can choose between both for different workflow states however selecting a digital policy for any workflow state will prevent you to use an electronic policy for any state after that.
- When finished adding States and Signers, click the Save button in the upper right corner. It saves the workflow template and displays a confirmation message to tell you the workflow has been created.
- This workflow will then be available in the list of existing Workflows on this page, the Compose page and the Dashboard page.
How do I create a new Workflow?
To create a new Workflow, follow the steps below:
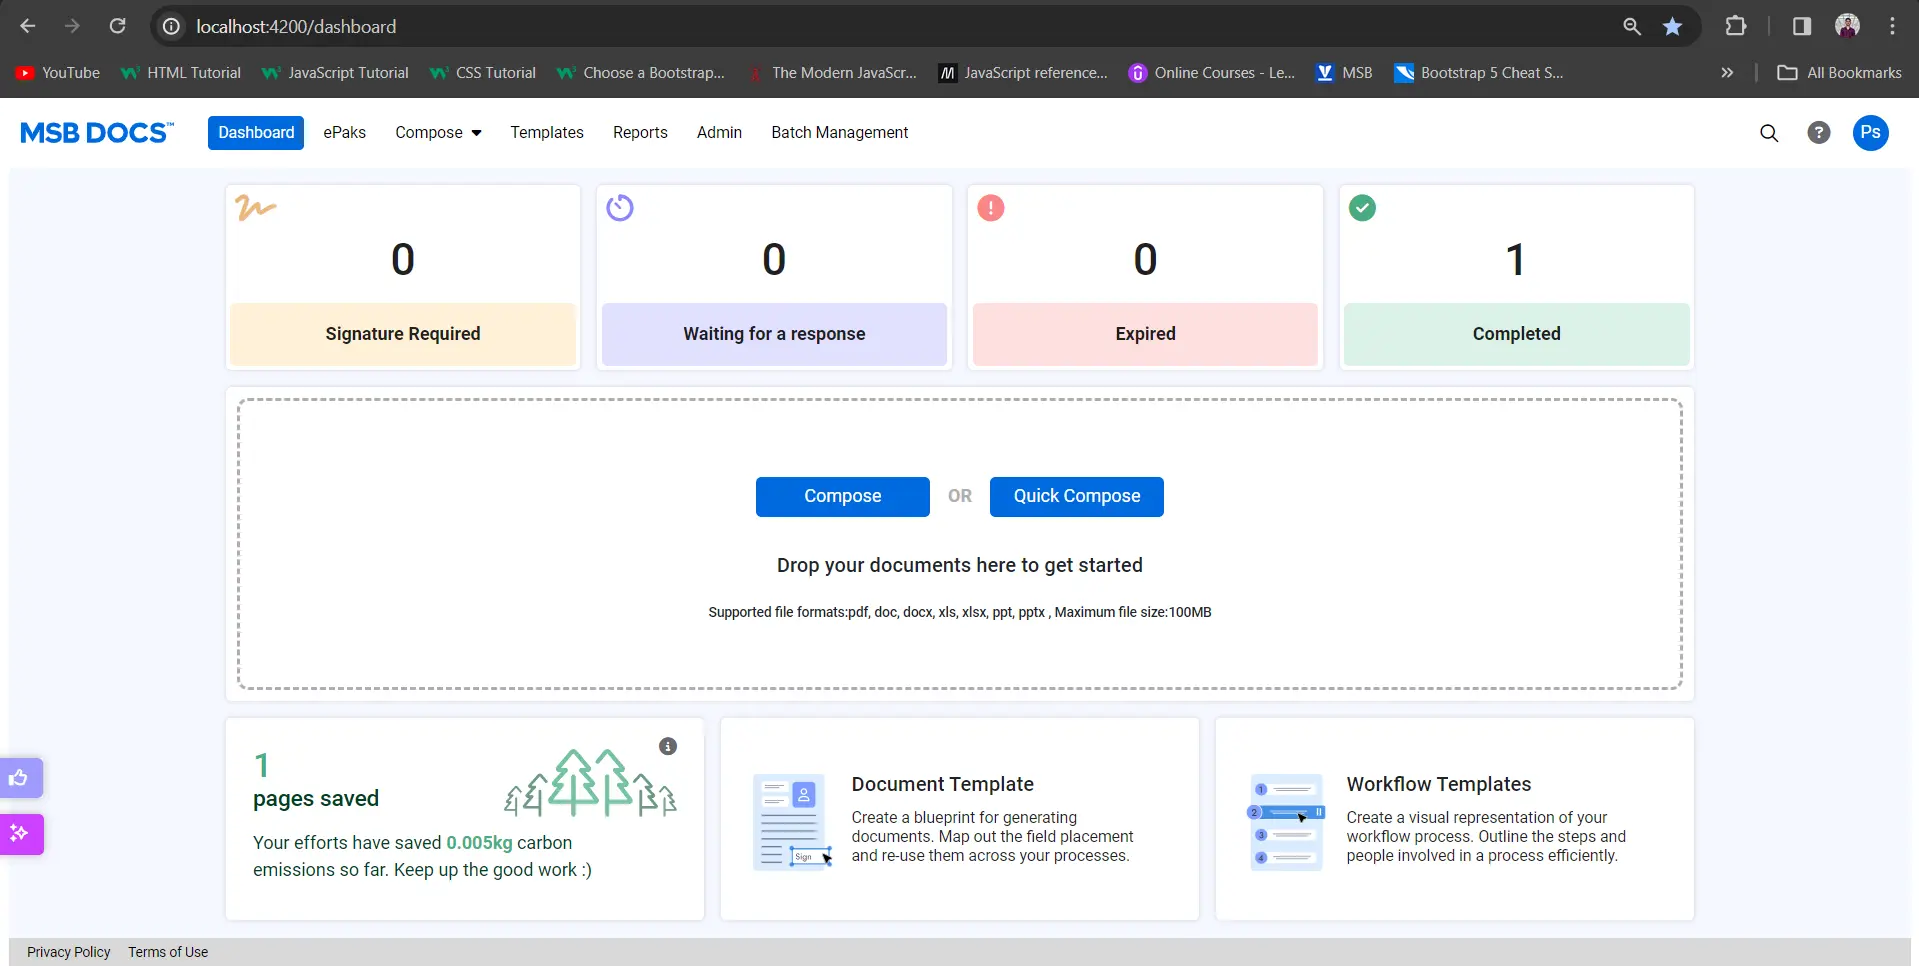
1) Click the Templates link in the main navigation panel. On the templates page, Click on Create button.
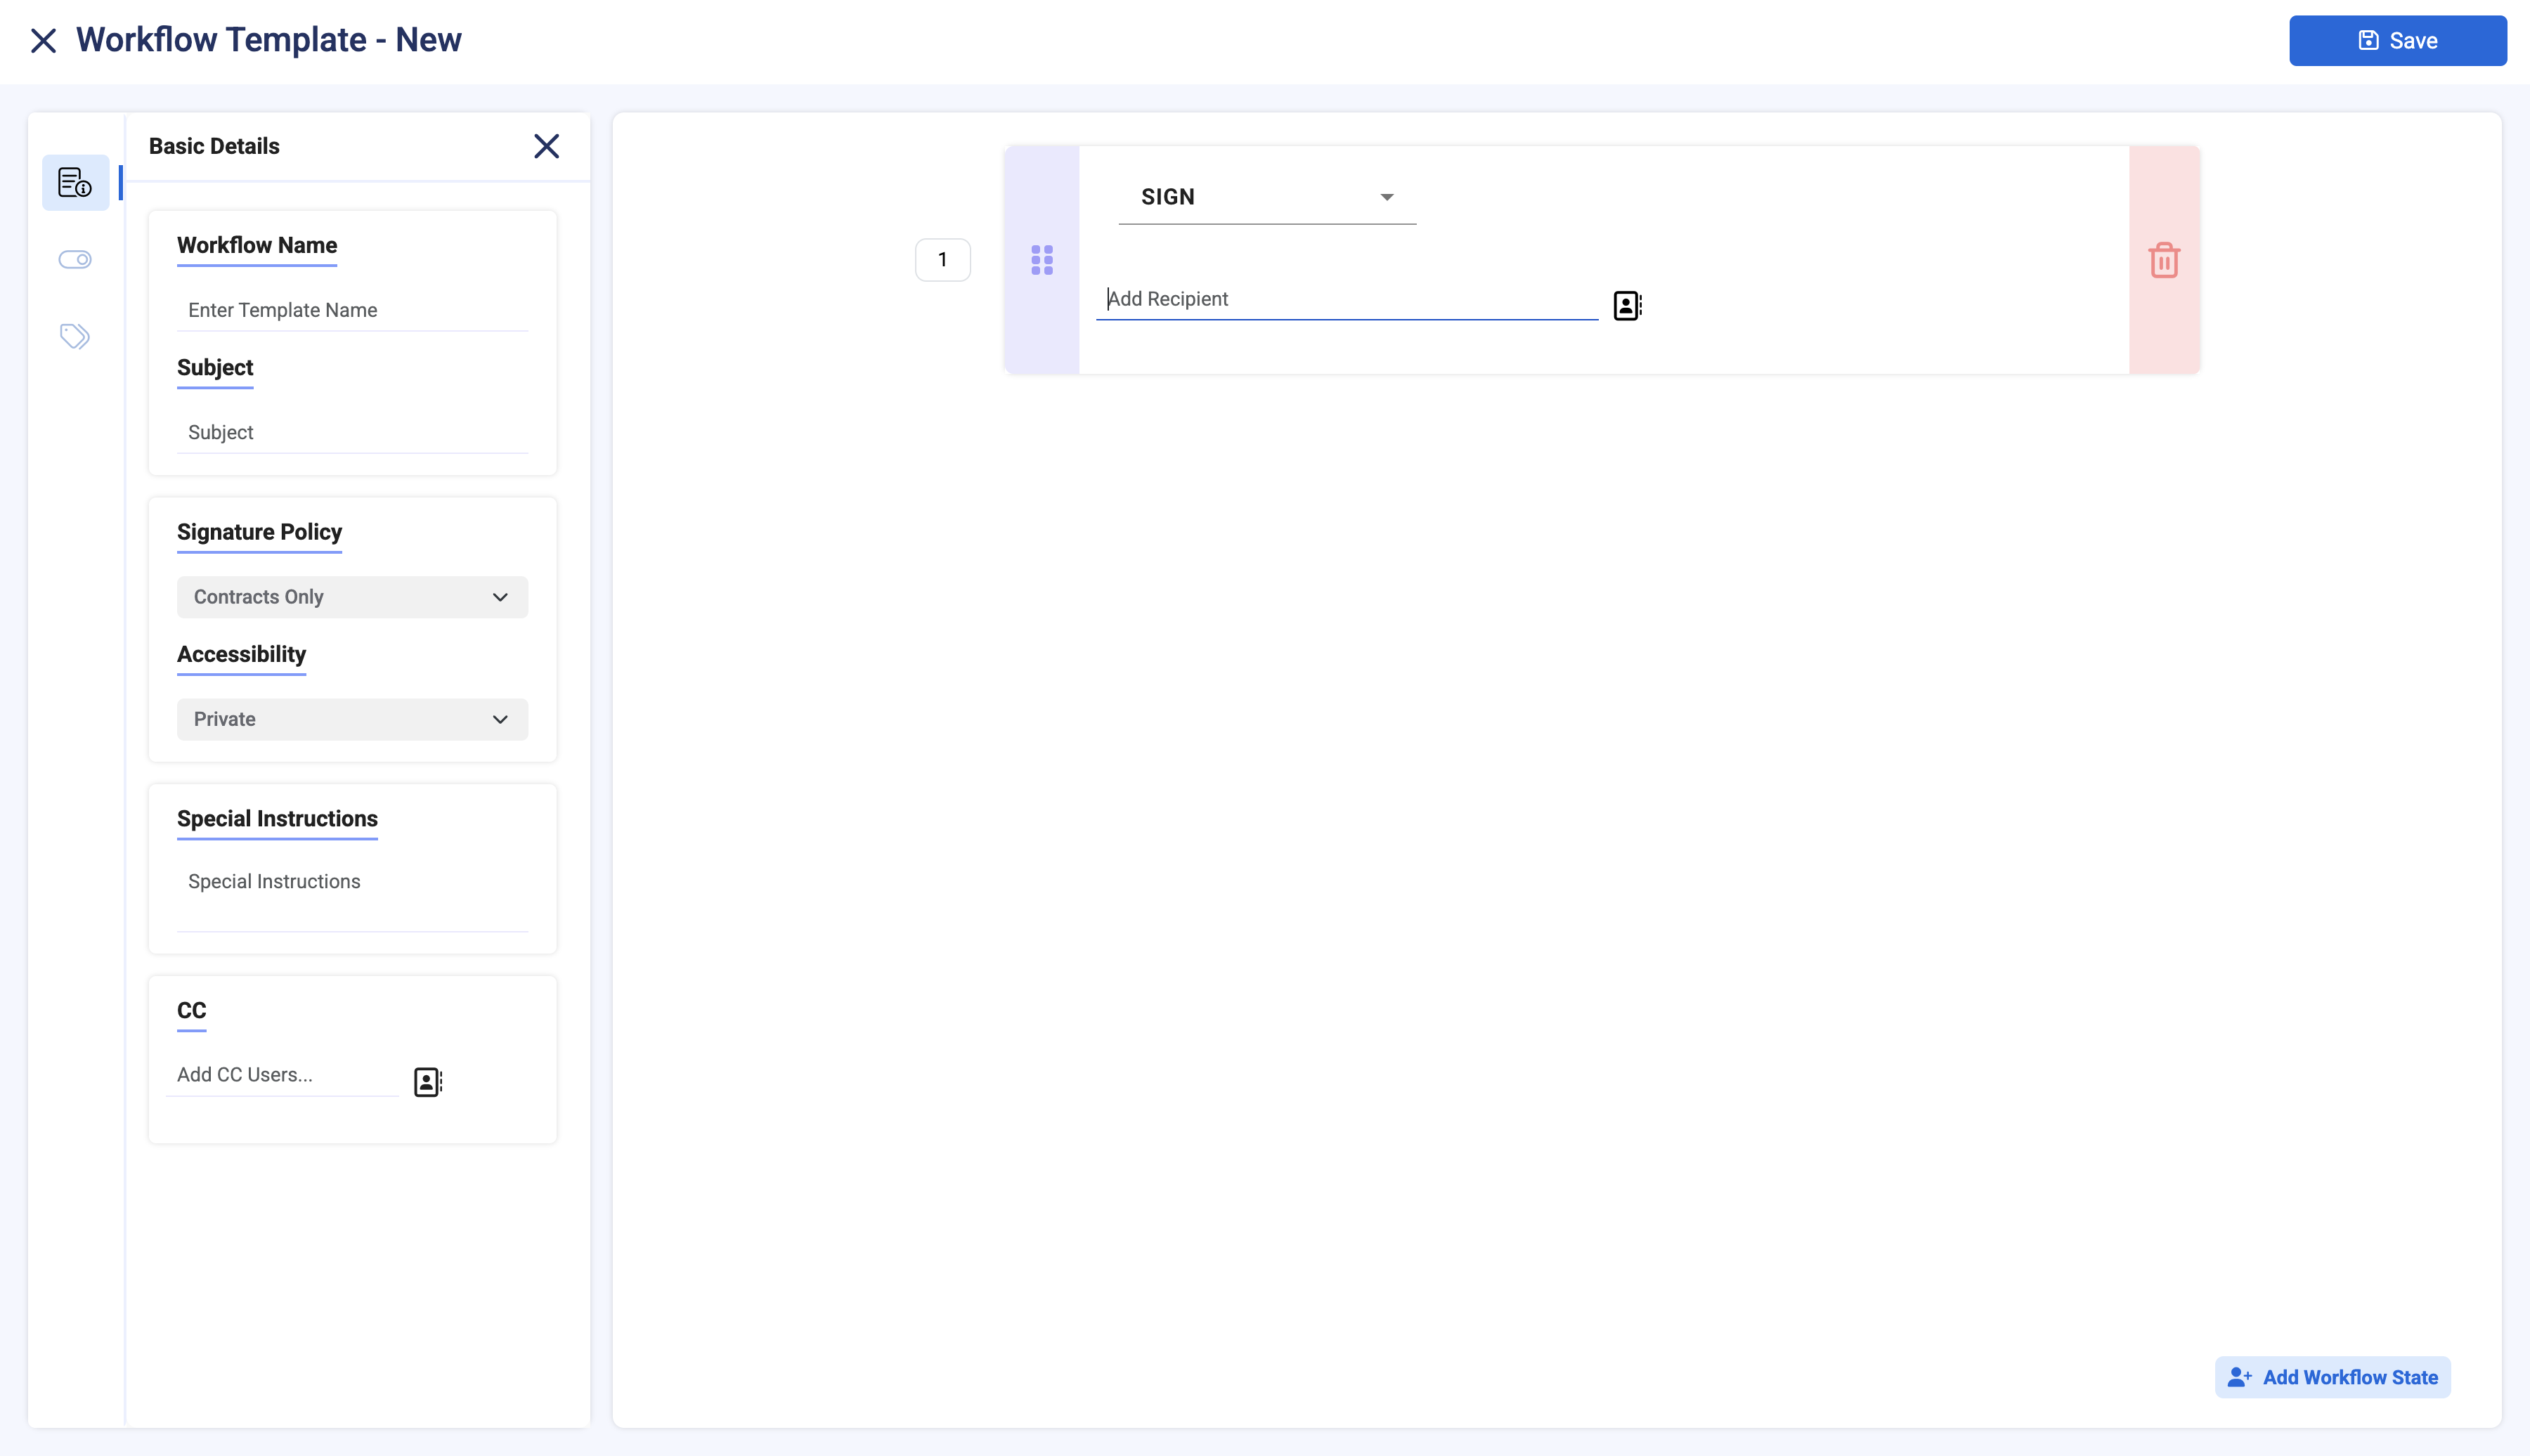
2) Type a name for the new template in the Workflow Name field, Signing Policy and Choose the accessibility of your Workflow. You can either make it Public, Private or Group.
3) Add workflow states to the Workflow by clicking on “Add Workflow State”. For each state, choose one of the following: Sign, Review or Email. Add recipients to each state by typing the username in the field provided.
4) You may also add minimum users to review and sign states, CC, Subject, Special Instructions and Tags to your workflow. These fields are optional.
5) If configured for your instance, you will be able to choose a different certificate policy for each state in your workflow from the drop-down menu. The default signing policy will be applicable to all workflow states unless selected otherwise.
6) When you finish adding States and Signers, click the Save button in the upper right corner. This workflow will then be available in the list of existing Workflows on this page and the Compose page.